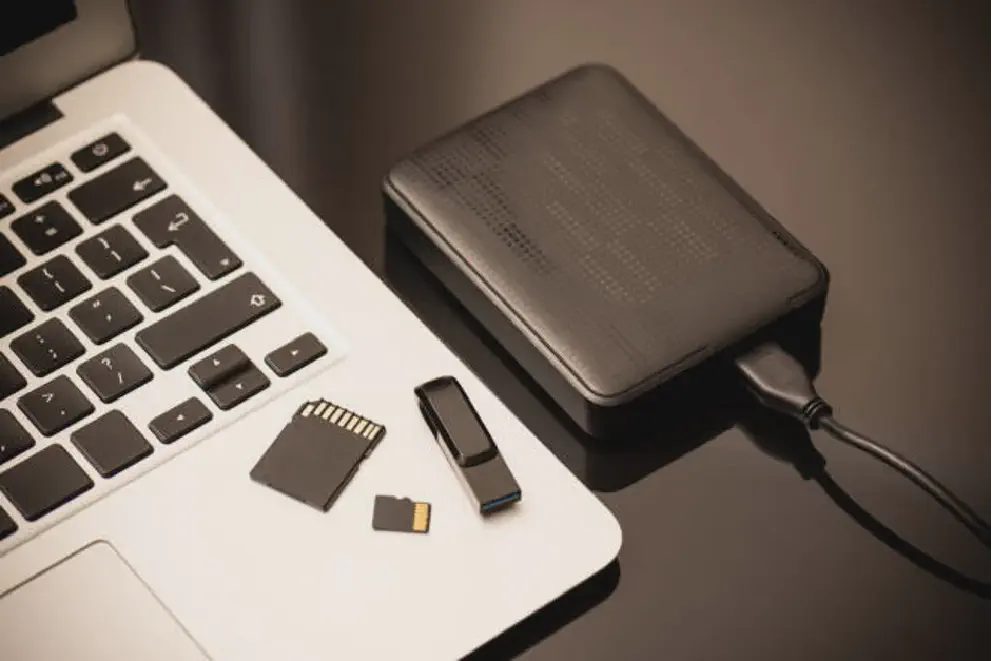
External hard drives are a good way to network and share data. However, while they have been very important in the data industry for a long time, they sometimes come with their own share of challenges.
Many times, when you connect an external hard drive on the Mac, you see it popping up quickly on the deck top. This is a sign that it has successfully mounted and Apple prefers to ensure that they are easier to find by users, which is why they also appear in Finder.
But sometimes the drive just doesn’t show up! This can be very annoying especially when you are in a rush to transfer some documents. If data is lost, you can recover files from Mac external hard drive with a good Mac disk repair software such as Disk Drill. Although there are many likely causes of hard drives not showing on Mac such as poor drive connection and faulty cable, you could just be facing a risk of corrupted files which will not be able to be accessed.
You can get out of this situation without affecting your data. If you are interested in a DIY fix, keep reading. Below, we have outlined solutions you can implement to save the situation.
Why is my External Drive not Showing on Mac?
Like we mentioned already, there can be many reasons for this problem. Below are some of the likely causes.
- A power supply error
- Corrupted drive
- NTFS read-only problem
- Physically damaged drive
- Drive is unreadable on macOS
- Loose or damaged USB cable
- How to Fix an External Hard Drive Not Showing up on Mac
Fix 1: Check the Connection

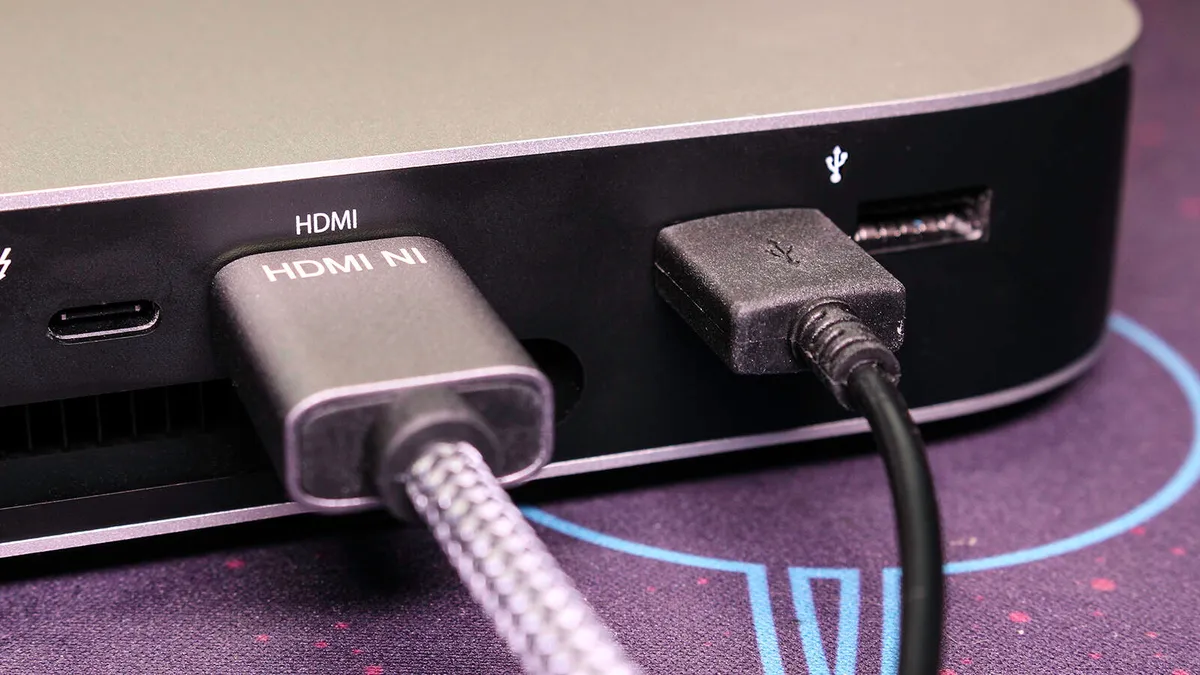
When linking the external hard drive to the Mac, the connection should be as secure as possible. Because this connection is wire-based, either the USB cable or the HDMI cable could be loosely connected. This would be a good first step before you think of using any disk repair tools to perform an external hard drive recovery on Mac. The cables could even be damaged.
For instance, if the connection is confirmed to be correct, and stable or not loose, but the Mac still won’t detect the drive, then the cable could be faulty. You can solve this by changing the cable.
Fix 2: Edit your Preferences
It may have been your first time using an external hard drive on your mac. If this is the case, check your preferences. If your settings are not allowed to display external hard drives on the desktop, you can fix it with the following steps:
- Step 1: Go to Finder and tap the Finder button. This will be in the menu bar at the top of the screen.
- Step 2: Go to “Preferences,” then to “General,” and finally “Show these items on the desktop.”
- Step 3: Tick the boxes next to the “External disks” and “hard disks.”
- Step 4: Go to “Sidebar” and check “Hard disks” and “External disks” as well.
Fix 3: Change USB Ports
If you are using USB cables and have checked that the cables are still ok, then maybe the ports are not in good condition. If your Mac has two or more USB ports, try using them by testing the USB cable on the various available ports. If it works, well. If it doesn’t, then the ports are faulty.
Fix 4: Ensure the Cables have Sufficient Power
Remember, some hard drives require more power to run compared to others. Also, different brands and sizes of cables provide different amounts of energy. Normally, a device should consume an average of 500 mA. This amount of power can be supplied by a standard USB cable 1.0 or 2.0.
Your hard drive may however require a stronger cable. This may make it work much slower or even fail to connect. Check the cable you are using for these conditions and change them if necessary.
Besides, if your power source is the problem, try an external power source or a self-powered USB hub. You can also add more power to your Mac by connecting it to the charger.
Fix 5: Run First Aid

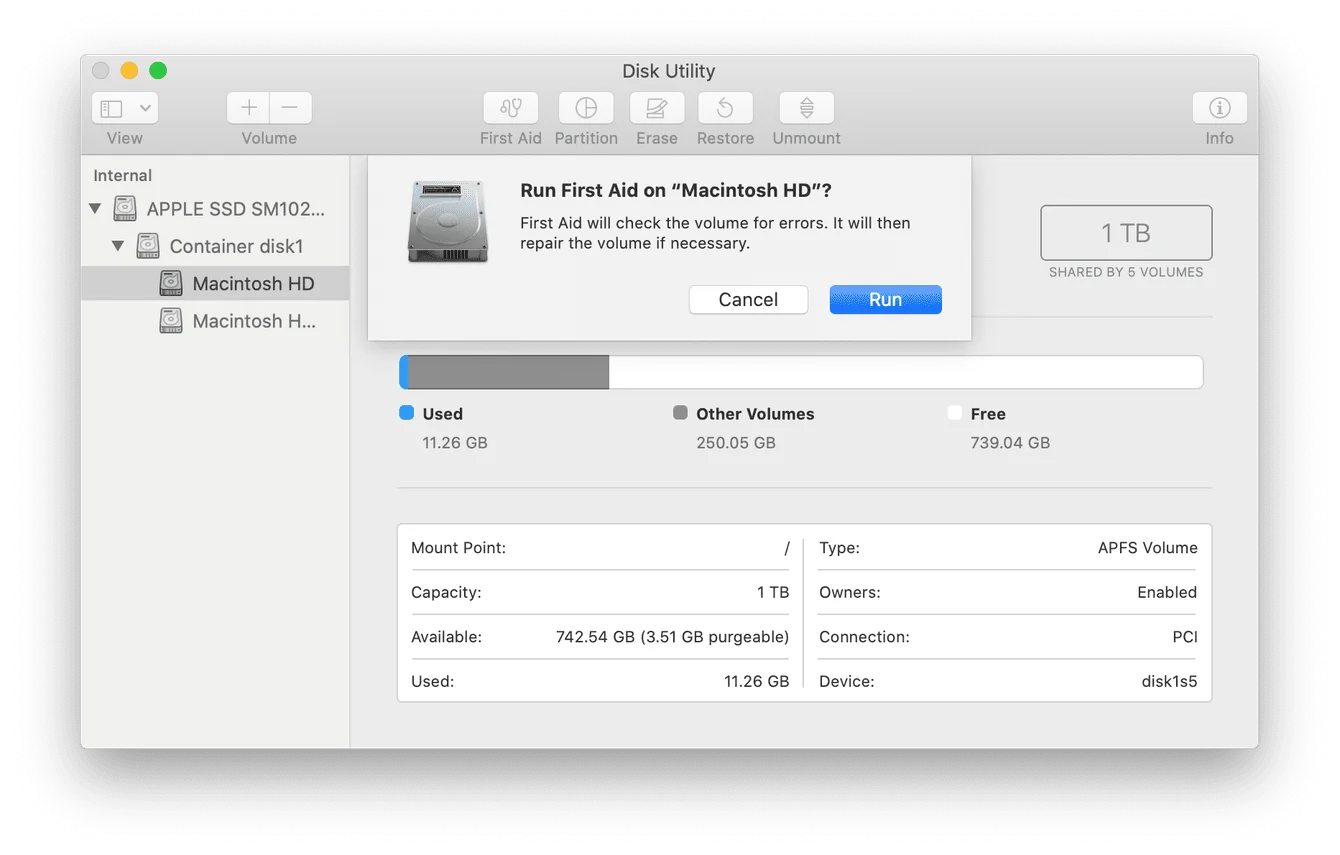
If all these are not working yet, it could be the best time to implement a first aid program. This program checks for disk errors that are likely causing the drive to be undetectable. Once the problem is checked, first aid will try to repair it.
Right-click on the device’s icon to reveal the first aid bar. This also shows other options such as “Restore” and “Erase.” These will however clear all your hard drive data and you must refrain from hitting on them.
Launch first aid by hitting “Run” then “Continue.” If this returns an “Overlapped extent allocation” error, it could signal that some of your files are corrupted. You will find a list of damaged files in the “DamagedFiles” folder in the drive. You can delete them. However, if they contain important information, you will need Disk Drill software to repair them.
If first aid fails, you can try two other options – run the program again and repair the disk, or back up your data, change the disk format, and reinstall OS. Later, you can recover the backed-up data.
Fix 6: Change the Format of your Hard Drive
Not all external drives come with Mac optimization. Maybe you are currently struggling with something that is only fit for Windows. You can try this with a laptop or PC to reaffirm accessibility on other devices.
To check the format compatibility with Mac, go to Apple on the top toolbar menu then move to “About This Mac.” Finally, move to “Storage” and check if the drive shows up. You can also query for more information by going to the same menu option and selecting “System Report.”
If you are connecting an NTFS drive to Mac, you unlock it by installing iBoysoft NTFS Mac. Note that changing drive format requires you to erase all drive data first.
Fix 7: Try Plugging it in Slowly
Funny, but sometimes your USB cable might just be able to work well if it is plugged in slowly. The power contacts in the USB connector are made to make contact with the USB port first. By plugging it in slowly, power is applied to the USB and it has enough time to initialize and mount the hard drive. This can also help with data recovery since you will be able to see your files on successful connection.
Plug
Support this free website by visiting my Amazon affiliate links. Any purchase you make will give me a cut without any extra cost to you
| Base | Pro | |
|---|---|---|
| iPhones | iPhone 16 / iPhone 16 Plus - (Amazon) | iPhone 17 Pro / iPhone 17 Pro Max - (Amazon) |
| iPhone Accessories | Find them at Amazon | |
| Watch | Apple Watch SE (Amazon) / Apple Watch Series 11 | Apple Watch Ultra 3 (Amazon) |
| AirPods | AirPods 4 (Amazon) | AirPods Pro 3 (Amazon) / AirPods Max (Amazon) |
| iPad | iPad 10 (Amazon) / iPad Mini (Amazon) | iPad Air M3 (Amazon) / iPad Pro M5 (Amazon) |
| Laptops | MacBook Air M3 (Amazon) | MacBook Pro M5 (Amazon) / MacBook Pro M4 Pro/ M4 Max (Amazon) |
| Desktop | Mac Mini M4 / M4 Pro (Amazon) / iMac M4 (Amazon) | Mac Studio / Mac Pro |
| Displays | Studio Display (Amazon) | Pro Display XDR (Amazon) |
Other Ecosystem Items
