
Apple’s macOS Sonoma is the latest and best version of Mac’s Operating Systems. It comes with several optimizations and additional features. But it does not prevent you from losing data in whichever way. That said, you must take care of all your files to safeguard them from loss and overwrite.
But in case you lose data from the new version of Mac, you should not worry as there are still many ways to recover it. One of the best and seamless ways to recover files is the use of data recovery software. You may not have known it, but there are more data recovery tools for various Mac OS versions with varied support systems including procedures to recover emptied trash Mac. In this article, we focus on the top 5 data recovery software for macOS Sonoma.
Disk Drill Data Recovery for Mac
This is the best data recovery software for macOS Sonoma. If you are not in a position to restore lost files with trash or other techniques, there are more chances you will be sorted by Disk Drill. The tool makes it clear that you can restore files even if they were emptied from trash!
Even though this is a new version of Mac, we have tested it with several data recovery software. The Disk Drill developed by Cleverfiles still recorded the best results which is why we rank it best when it comes to all forms of data recovery on Mac, despite the Mac version and situation.
Key features of the software include:
- Modular user interface
- A suite of data recovery tools
- Cross-platform scan session management
- Support for a variety of storage devices
It is also very easy to use. Follow the steps below to recover deleted files from macOS Sonoma.
- Step 1: If you do not have the software preinstalled, download it from the official website and install it on your Mac.
- Step 2: Connect the external hard drive to your mac.
- Step 3: Launch the software and tap “Search for lost data” to start scanning for lost files.
- Step 4: Preview the files found from the scan to establish if they are among the files you are looking for.
- Step 5: Choose the files and select a new location to restore lost data.
- Step 6: Press “Recover” to complete the process.
Pros
- Free version available
- Preview available
- Supports a wide range of files and storage devices
- Quick and deep scan
- Supports all file loss scenarios
Cons
- Free version supports 500 MB recovery only
PhotoRec

PhotoRec is the other data recovery software for recovering lost files in macOS Sonoma. Whether the files were accidentally deleted or lost from disc corruption, PhotoRec can be a top option to consider. Below is the procedure to recover accidentally emptied trash on a Mac. In addition, the app can also recover files after trash is emptied and undoing cannot help with recovery. Some features of the software include:
- An intuitive and interactive interface
- Can search for a wide range of file formats
- Recovery from damaged drive supported
Follow the steps below to recover files from macOS Sonoma.
- Step 1: Download and install PhotoRec. Proceed to launch it with “sudo photorec.”
- Step 2: Select the drive you need to scan from the media list shown by PhotoRec then tap “Proceed” followed by Enter to continue.
- Step 3: Highlight the required partition, select “Search” then Enter.
- Step 4: Now choose the files you need to restore.
Pros
- Quick recovery algorithm
- Supports a wide variety of file system formats
Cons
- Requires a separate filesystem to store the files
TestDisk
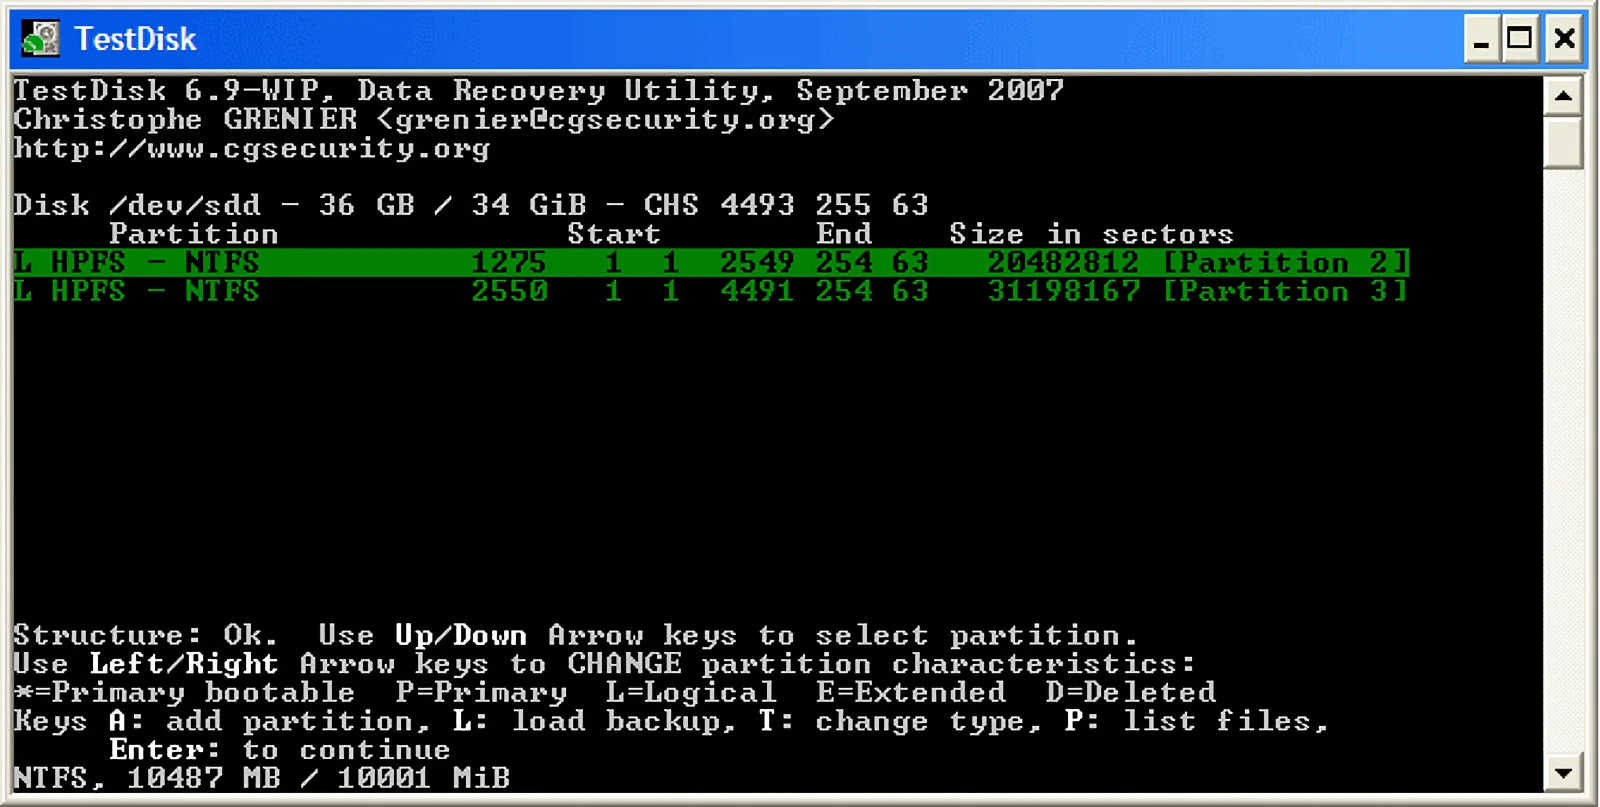
TestDisk is an open-source data recovery software that supports a wide range of devices. Whether you are missing just a few files or all of them, this software will analyze your device to get them back. It has the ability to locate, recover, fix or repair the files.
Some features of TestDisk include:
- Rewrite MBR
- Recover deleted partitions
- Partition backup for EFI GPT
- Rebuild partition table
To fix your data recovery issues with the software, follow the steps below.
- Step 1: Install the software if not yet installed using the command “sudo apt install testdisk.” Run it with “sudo testdisk.”
- Step 2: Choose “Create” to create a new log file.
- Step 3: Scroll up or down to choose the device you intend to scan then navigate left or right to highlight the “Proceed” icon. Press Enter.
- Step 4: Choose the right partition table type followed by “Analyze” then “Enter” to scan the device for lost files.
- Step 5: When TestDisk shows you the current partition structure, select “Quick Search” then Enter to continue.
- Step 6: On the list of partitions found, select the one you are interested in then Enter to reveal a new partition table.
- Step 7: Press “Write” then Enter. If asked to confirm a write request, confirm to continue. If this command cannot be applied by TestDisk, it will prompt you to reboot the device. Confirm by tapping “Ok.”
Pros
- Restores entire disk partitions
- Can fix disks with unbootable OS
Cons
- It cannot restore individual files
- There is no guarantee for data recovery
Cisdem Data Recovery for Mac
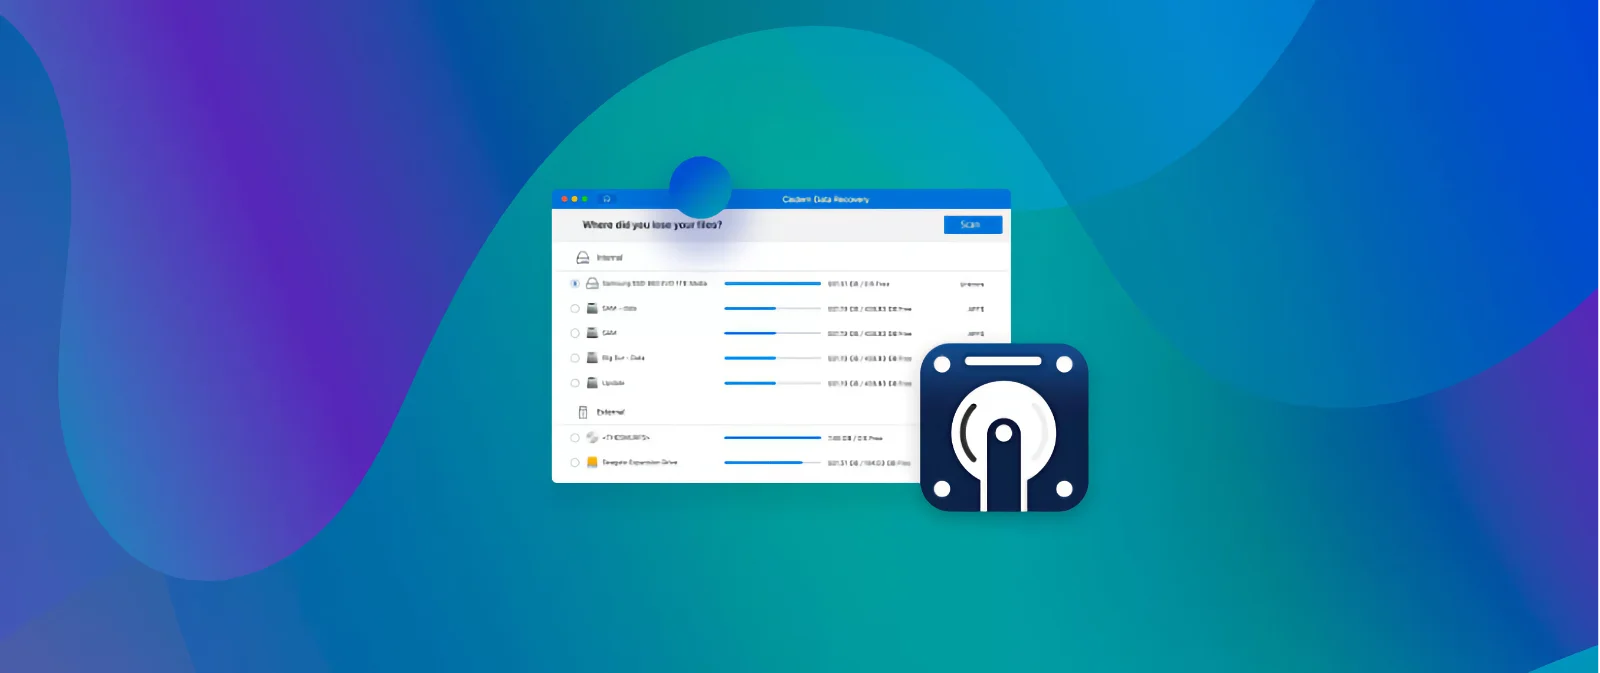
Cisdem Data Recovery for macOS Sonoma helps you recover accidentally deleted or lost files. The tool also supports external drives and can recover a wide range of file types. It is highly efficient and very easy to use.
Its main features include:
- User-friendly interface
- Multiple data recovery solutions
- Preview feature
- Compatible with most device types
- Supports a wide range of file formats
To recover files on macOS Sonoma with Cisdem Data Recovery, follow the steps below.
- Step 1: Download the app from its official website.
- Step 2: Install the software.
- Step 3: Once installed, Boot the device in Recovery Mode and turn off System Integrity Protection.
- Step 4: Choose to run file recovery then select the drive to be recovered. Allow the tool to scan your drive.
Pros
- User-friendly interface
- Compatible with various file formats File preview supported
Cons
- Requires users to switch off system integrity protection
- Scanning time is much longer
- Cannot preview video and audio files
- Free version does not support test recovery
DiskWarrior for Mac
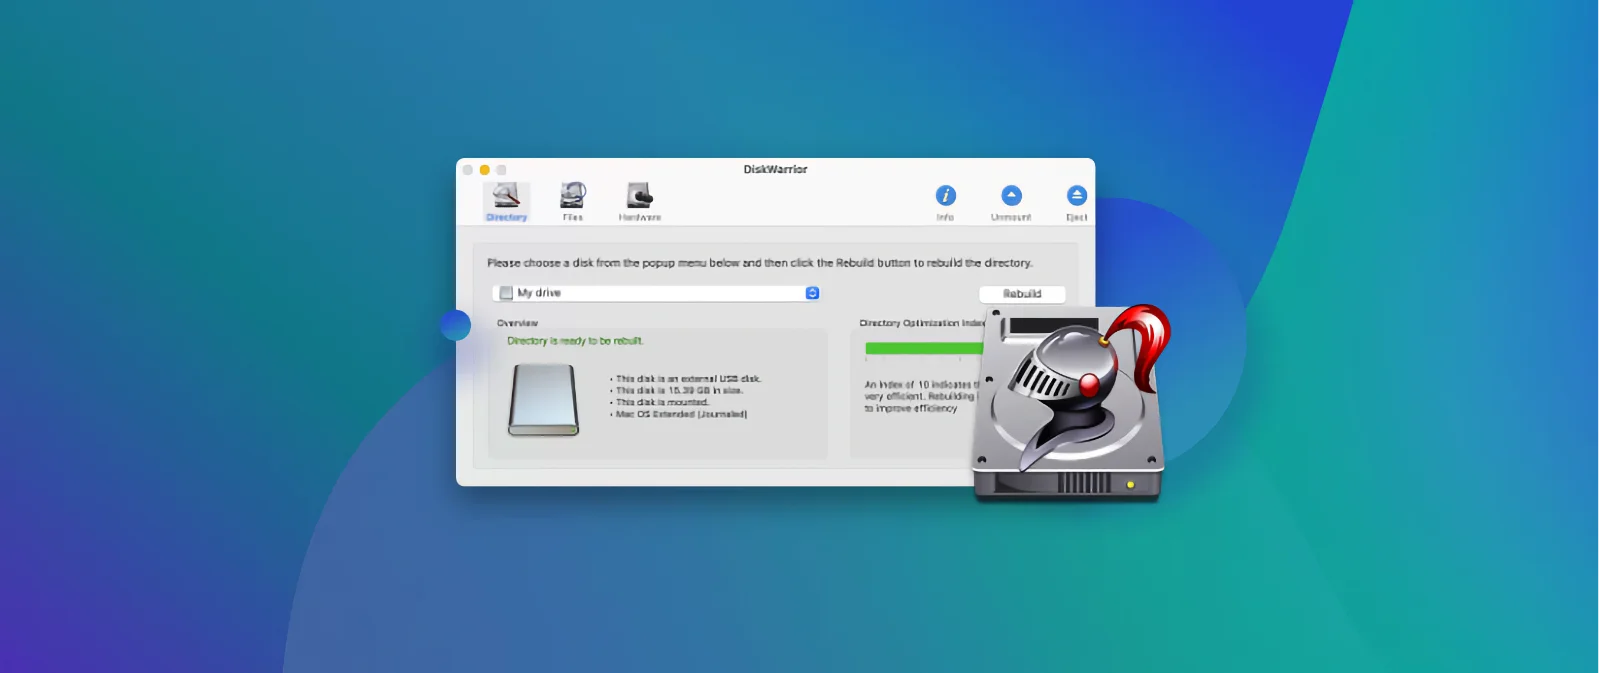
DiskWarrior is one of the oldest data recovery for Mac you can use on macOS Sonoma. It specializes in rebuilding disk directories and is very effective in reconstructing file system structures as well as fixing the issues. It supports a wide range of storage devices including the most current macOS version macOS Sonoma.
The tool can scan and rebuild damaged directories, prevent potential data loss, and fix corrupt files and folders. Some of the main features of this software include:
- Compatible with a wide range of devices including external hard drives
- Three boot options i.e., boot from recovery mode, boot from HDD, and boot from DiskWarrior bootable USB
- Flexible and user-friendly design
Pros
- Fast scans
- Easy to navigate
- Prevents data loss
- Repairs corrupt files
Cons
- Free trials unavailable
- M1 Macs not supported
Conclusion
If you are working on the new macOS Sonoma, you will need one of the best data recovery software in case of a data issue. Read this review for the top 5 software to use to improve your experience with this Mac version.
Plug
Support this free website by visiting my Amazon affiliate links. Any purchase you make will give me a cut without any extra cost to you
| Base | Pro | |
|---|---|---|
| iPhones | iPhone 16 / iPhone 16 Plus - (Amazon) | iPhone 17 Pro / iPhone 17 Pro Max - (Amazon) |
| iPhone Accessories | Find them at Amazon | |
| Watch | Apple Watch SE (Amazon) / Apple Watch Series 11 | Apple Watch Ultra 3 (Amazon) |
| AirPods | AirPods 4 (Amazon) | AirPods Pro 3 (Amazon) / AirPods Max (Amazon) |
| iPad | iPad 10 (Amazon) / iPad Mini (Amazon) | iPad Air M3 (Amazon) / iPad Pro M5 (Amazon) |
| Laptops | MacBook Air M3 (Amazon) | MacBook Pro M5 (Amazon) / MacBook Pro M4 Pro/ M4 Max (Amazon) |
| Desktop | Mac Mini M4 / M4 Pro (Amazon) / iMac M4 (Amazon) | Mac Studio / Mac Pro |
| Displays | Studio Display (Amazon) | Pro Display XDR (Amazon) |
Other Ecosystem Items