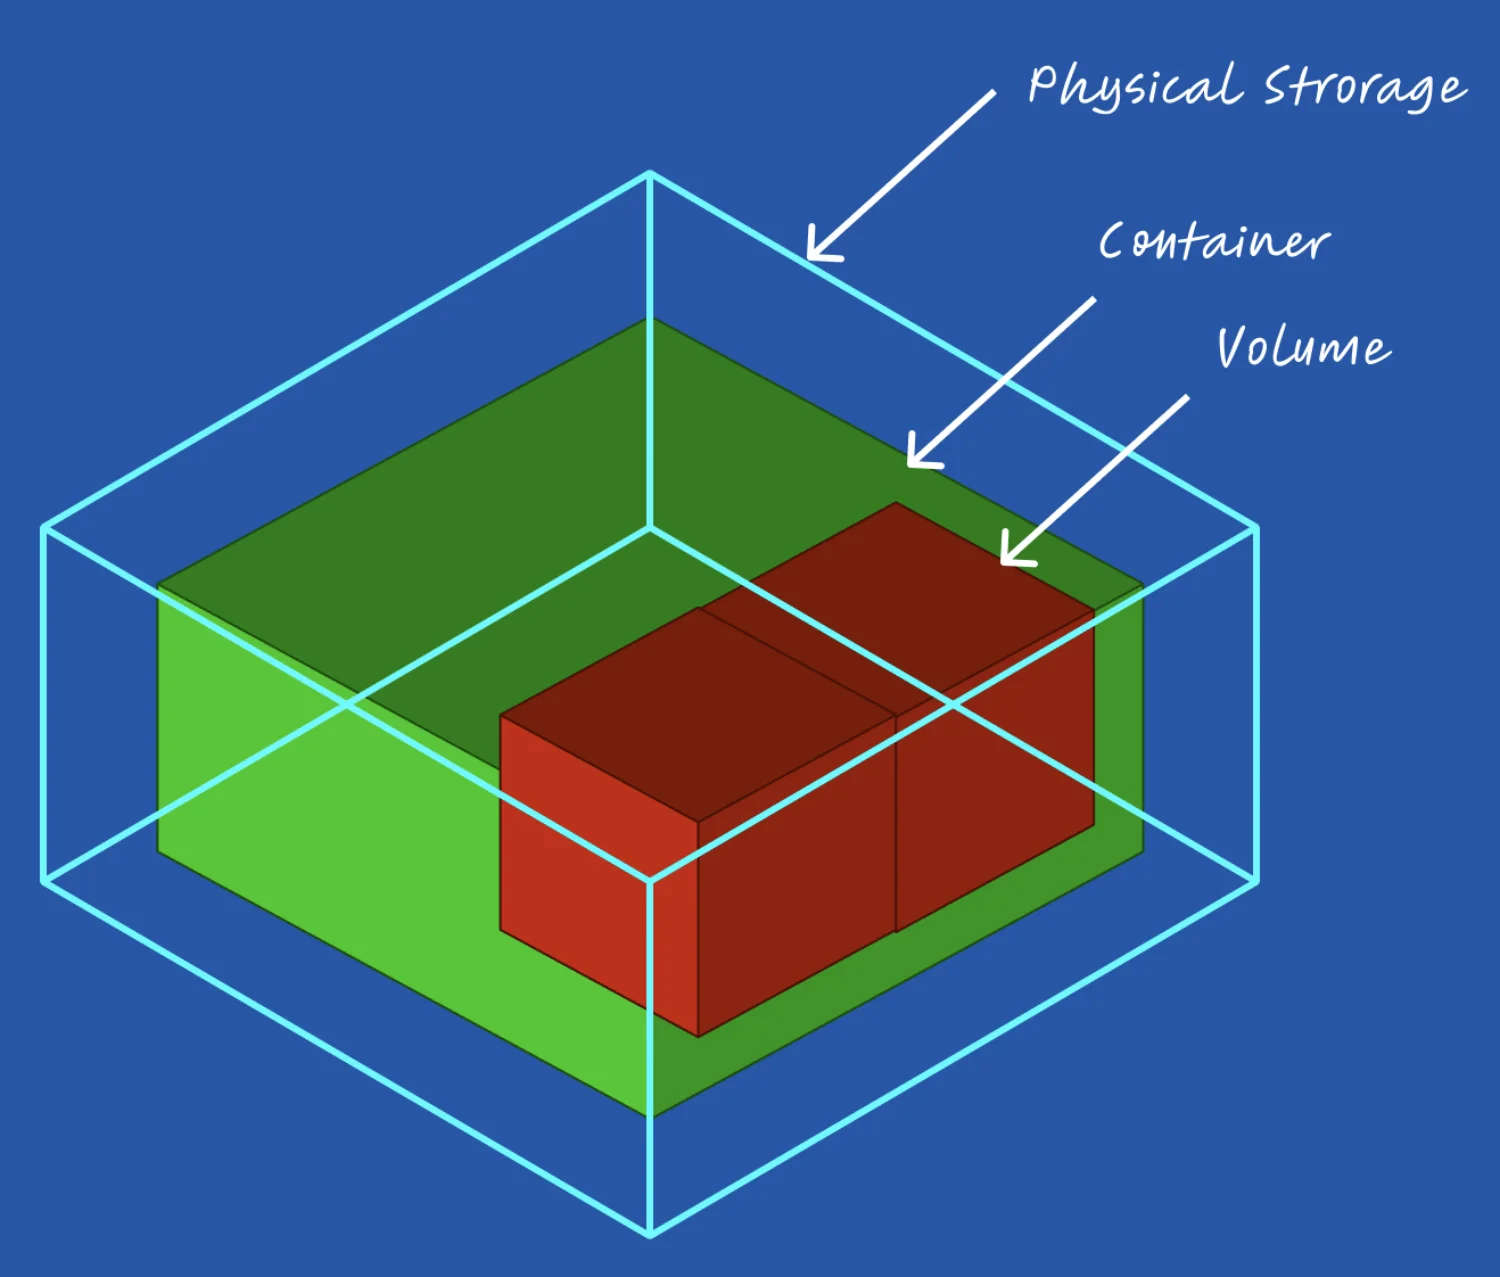
Here’s the scenario: your current external storage is full and naturally you bought a new external storage (HDD or SSD) that has twice (or more) the capacity of your current external. Now, some of your applications like Adobe Lightroom have registered your hard drive so you want to make sure that your hard drive is exactly like the old one, but with a bigger capacity.
This is the guide to cloning and extending your external storage so your application can’t tell the difference.
Plan and assumptions

- You bought a new external storage with a larger capacity than the old external storage.
- You will plug both external storage into the same Mac and run some commands to clone the volume of the current external storage into a new external storage and extend the new volume.
- The command to clone the drive is
ddand to extend the drive isdiskutil - For this demo, the assumption is the old external storage is
disk1and the new external storage isdisk2
The Steps
- Plug in both new and old external storage into your Mac. Open up the Terminal app to access the command line. The Terminal app can be found in Finder -> Application -> Utilities -> Terminal.app
- Use the
diskutilcommand to list all the storage. Take note of the names of the external storage as detected by your Mac. In my example, my old external is disk4 and the new external is disk6
diskutil list
- Use
diskutilto unmount the external storage. This will make your storage invisible to your user interface, but your Mac still detects them.
diskutil unmountDrive disk1diskutil unmountDrive disk2
- Use the
ddcommand to clone your old external drive into the new one. Important: Do not mix up the drive names inifandofoptions. If you mix them up, you are screwed. You need root access to do this command.
Sudo dd if=/dev/rdisk1 of=/dev/rdisk2 bs=64k status=progress
- This command will take a while depending on your Mac and your external storage.
- When the command is done, you essentially have cloned your old external storage into the new one. You can run the disk util command to extend the new external drive.
Diskutil apfs resizeContainer disk2 0
- You should check and see if the new external drive has all the content and the new size. However, if the new external drive did not resize to the new large size, you have to fix the partition table in the drive. Run
diskutilcommand to repair the drive and resize the storage again.
diskutil repairdisk disk2diskutil apfs resizeContainer disk2 0
- At this point, you are done
Tips
- Using raw disk in the
ofandifoption will make things go a lot faster. The raw disk has an “r” in front of the disk name. For example, is the external storage is disk2, the raw disk is rdisk2 - Important: be careful with the
ofandifoption flags. Don’t mix them up! Thestatus=progresswill show you how much data is being transferred. You can peek for more info by pressingctrl + t.
Plug
Support this free website by visiting my Amazon affiliate links. Any purchase you make will give me a cut without any extra cost to you
| Base | Pro | |
|---|---|---|
| iPhones | iPhone 16 / iPhone 16 Plus - (Amazon) | iPhone 16 Pro / iPhone 16 Pro Max - (Amazon) |
| Watch | Apple Watch SE (Amazon) / Apple Watch Series 10 | Apple Watch Ultra 2 (Amazon) |
| AirPods | AirPods 4 (Amazon) | AirPods Pro 2 (Amazon) / AirPods Max (Amazon) |
| iPad | iPad 10 (Amazon) / iPad Mini (Amazon) | iPad Air M2 (Amazon) / iPad Pro M4 (Amazon) |
| Laptops | MacBook Air M3 (Amazon) | MacBook Pro M3 (Amazon) / MacBook Pro M3 Pro/Max (Amazon) |
| Desktop | Mac Mini (Amazon) / iMac (Amazon) | Mac Studio / Mac Pro |
| Displays | Studio Display (Amazon) | Pro Display XDR (Amazon) |
Other Ecosystem Items
