Back in the early days of the internet, your personal computer or Mac was the only thing that was connected to the internet. Things were simple, you have a modem (internal or external), connected to your phone line, dial up the ISP server and you are on. Then comes cable which means your computer is connected to the internet 24/7. Then the cable company gives you a router because there’s multiple computers in a single household. Then Wi-Fi happened, more people were on laptops. It exploded when Smartphones with Wi-Fi came into the scene. Now you have your laptop, and smartphone. Later, we put smartphone OS on TVs, a new device called tablets and our watches. They all have Wi-Fi and they all connect to the internet.
We are headed into the future where it’s called Internet Of Things where everything, I mean everything in your house is connected to the internet: your TVs, your fridge, your oven, toaster and even your car (which have over the air updates). So having a good home network now is becoming essential for our convenience, but we still get the same old router and switch from our Internet Service Provider?
So how do we make the best home network for our use that is easily accessible, secure, fast and does not break the bank? Read on to find out.
Executive Summary:-
- First there was only a computer connected to the internet in a household. Now we have phones, watches, TV and even your car
- Upgrading your home network means having a wider and stronger coverage at your home with better security
- First step is always to survey your current situation and plan what is the end goal
- There are many pathways to upgrading from just upgrading your base router, WiFi Mesh / Extender or to all out switches and access points throughout your home
- Further upgrades like VPN-server, network attached storage and firewall and increase your network performance.
Recommended items goes to my Amazon Affiliate links. I will get a cut for any purchase you made using my affiliate links at no extra cost to you. Prices are correct at press time. Good hunting!
The basics
So before we embark on any network project, let’s review so we are on the same page about what we are talking about. Here are a list of simple terms that you should know when talking about building a home network
- Ethernet / Network - Network is the idea that computers talk to each other. Ethernet is the conception of the idea. All computers connect to Ether, so Ethernet.
- TCP/IP - The protocol (a way of talking) that computers used to communicate with other computers. Abbreviation of Transmission Control Protocol Over Internet Protocol.
- Switch / Router The device that physically connects computers to other computers. Traditionally, you plug in all your computers to the switch or router using wires and then you then communicate with each other. Now the wires are replaced with radio waves we call Wi-Fi. The major difference between Switch and Router is the router is an advanced form of switch. The router is a switch with a computer on it to manage the network.
- Firewall - A security device that helps protect your network. The basic idea is to prevent / bounce unwanted traffic while allowing good traffic in.
- PoE - Power over Ethernet. Some advanced router / switches will have special wiring in the port which helps power the device that it is connected on. The power rating is now that high, but it’s enough to power close circuit TV cameras, phones and even the WiFi access points.
So now we covered the basis of what is a network, we go to why we want to build a home network. The reasons are various, but it boils down to two things: connectivity and speed. A typical house in the USA is 2,500 square feet and in Europe is around half of that. The WiFi range is around 30 feet and when you go to one end of the house, coupled with rooms that act like Faraday cage, you will not get a WiFi signal when going around the house.
Another typical reason to update your home network is speed. Sure you have a decent performance with your cable router when you are the only guy on the network, but when you start to add up the TVs, the smartphones, smartwatches, and now your toaster and fridge, these things will slow down your default router.
Step 1: Site Survey
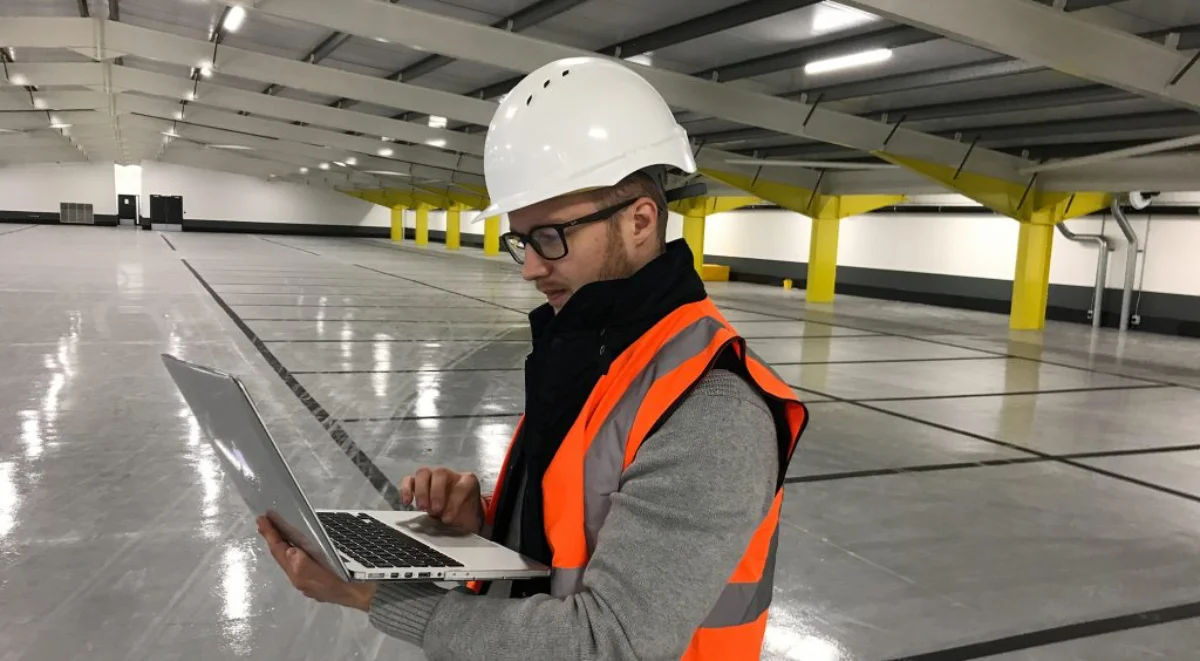
Now before we rush to the big box store and start buying networking gear, we need to do the most important step in any project: getting the lay of the land or in other words: Site Survey.
Site survey is knowing your intended location to put the network in, identify weak points and plan the correct solution to get the maximum effect at minimal cost. First step in the site survey is to identify the current network condition and plan how to remedy the situation by the correct solution.
Questions that need to be ask during site survey is like:-
- What kind of network do I want to achieve?
- What is the Wi-Fi strength in this room?
- What kind of obstacles do I overcome in the room / outdoor area?
- What do I want to put in the area? Network Port? Wi-Fi access point? Telephone? Camera? Doorbell? Light switch?
Do note that different building materials provide different resistance to Wi-Fi signals. Most homes in the USA are made from drywalls and wooden frames while homes in Europe are made from concrete and bricks that can block or absorb radio signals.
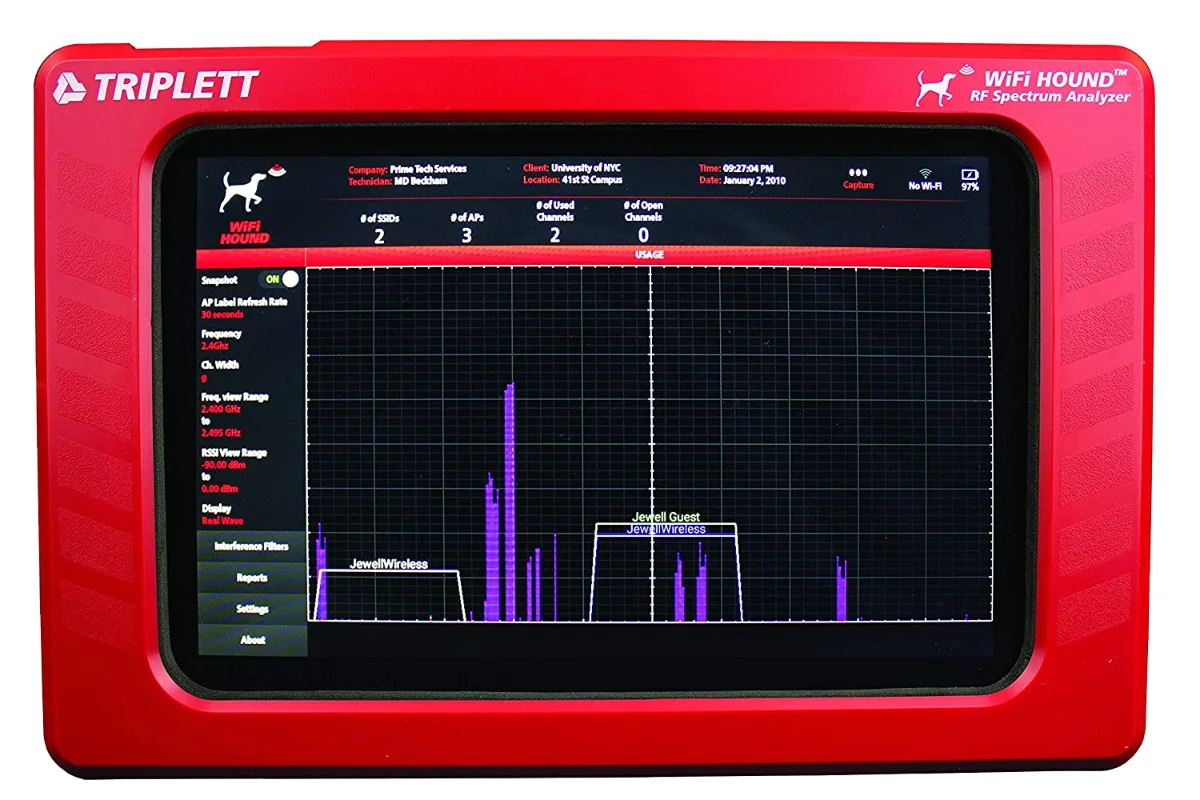
Of course you need the right tools to test your network connection before and after you have done your upgrade. There are tools that cost hundreds of dollars but a quick and dirty solution is to use your iPhone and remote to test the connection. After all, if it doesn’t work with your basic computer, it would definitely not work with your internet appliances.
Augmenting your network assessment is the right app to measure your Wi-Fi network signal strength. Apps like Network Analyzer can help you in this regard. If you are more electronically inclined, of course you can buy a dedicated network analyzer to hone everything down.
Step 2: Network Planning
Now the next step is network planning. This is the part where you decide how you are going to achieve your objectives. I present you with a few templates that you can use, each with a degree of difficulty and pros and cons for each method.
Upgrading your base router
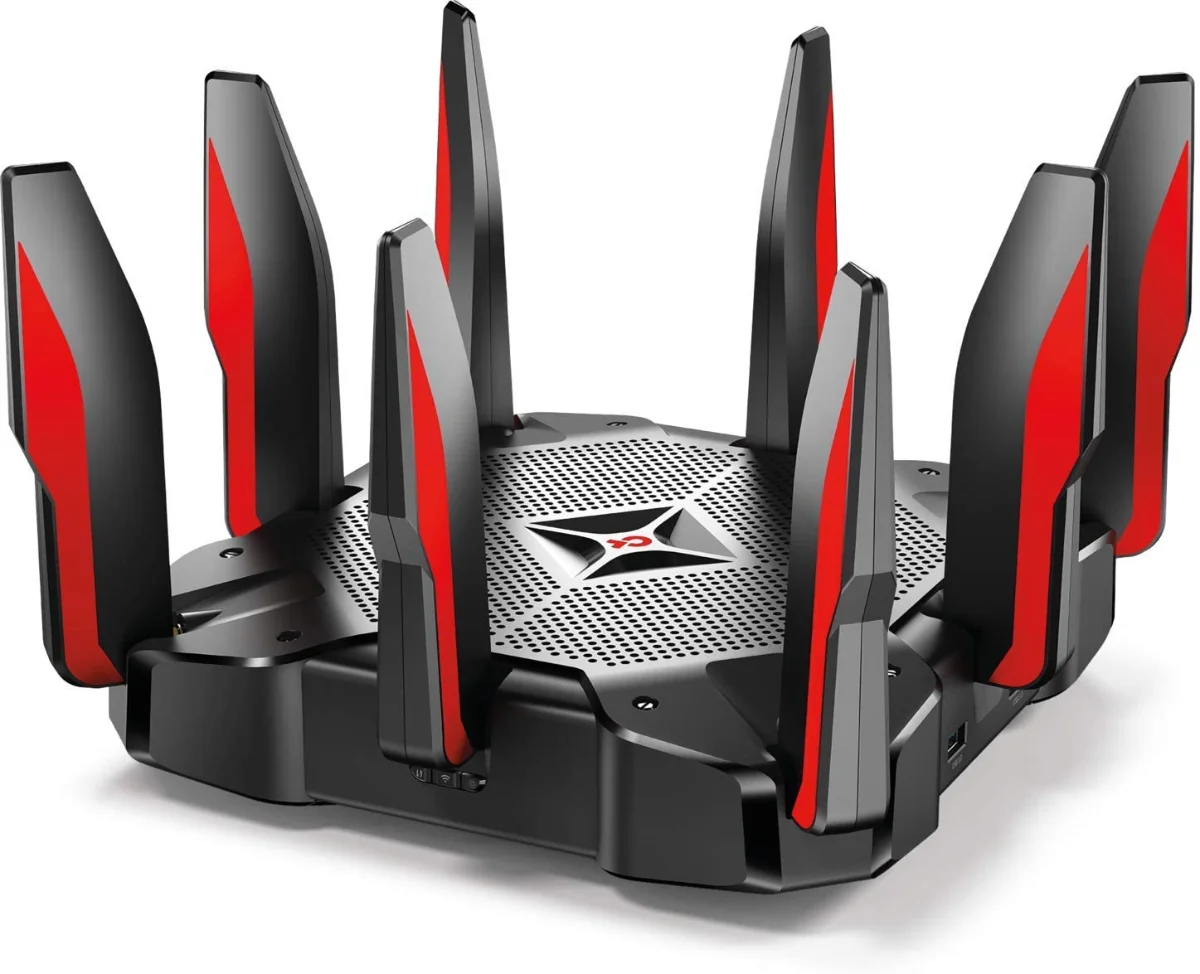
The base router that comes with your ISP is usually the most basic version that you get in the store. All in all, most ISPs are a corporation and they would give the bare minimum solution. So most of the routers that come with the internet package are a “good enough” solution. Sometimes, especially when the house is not that large, upgrading the base router to a more capable one is all that you need.
With routers that can give you 2.4 GHz wireless, 5 Ghz and now 6 GHz with a more capable on-board computer which can handle higher volume of traffic, upgrading your router is the easiest and most-cost effective way to upgrade your home network. However, if you are thinking about extending your reach especially when you have a large property, then you need to have extra equipment like the one that we will discuss.
| Item | Price |
|---|---|
| NETGEAR Nighthawk AC2400 Router | $99 |
| NETGEAR 4-Stream WiFi 6 Router (R6700AXS) | $80 |
| ASUS AC2900 WiFi Gaming Router (RT-AC86U) | $170 |
| TP-Link AC5400 Tri Band WiFi Gaming Router | $205 |
Wi-Fi Extender or Wi-Fi Mesh
Wi-Fi extender is exactly what it means: extending your Wi-Fi network by repeating your request to the base router. A Wi-Fi Extender is a network repeater but for Wi-Fi. A Network repeat is a device that just repeats your network request to another device. Usually it is used to boost signal strength or in wired cases: extend the length of the connection.
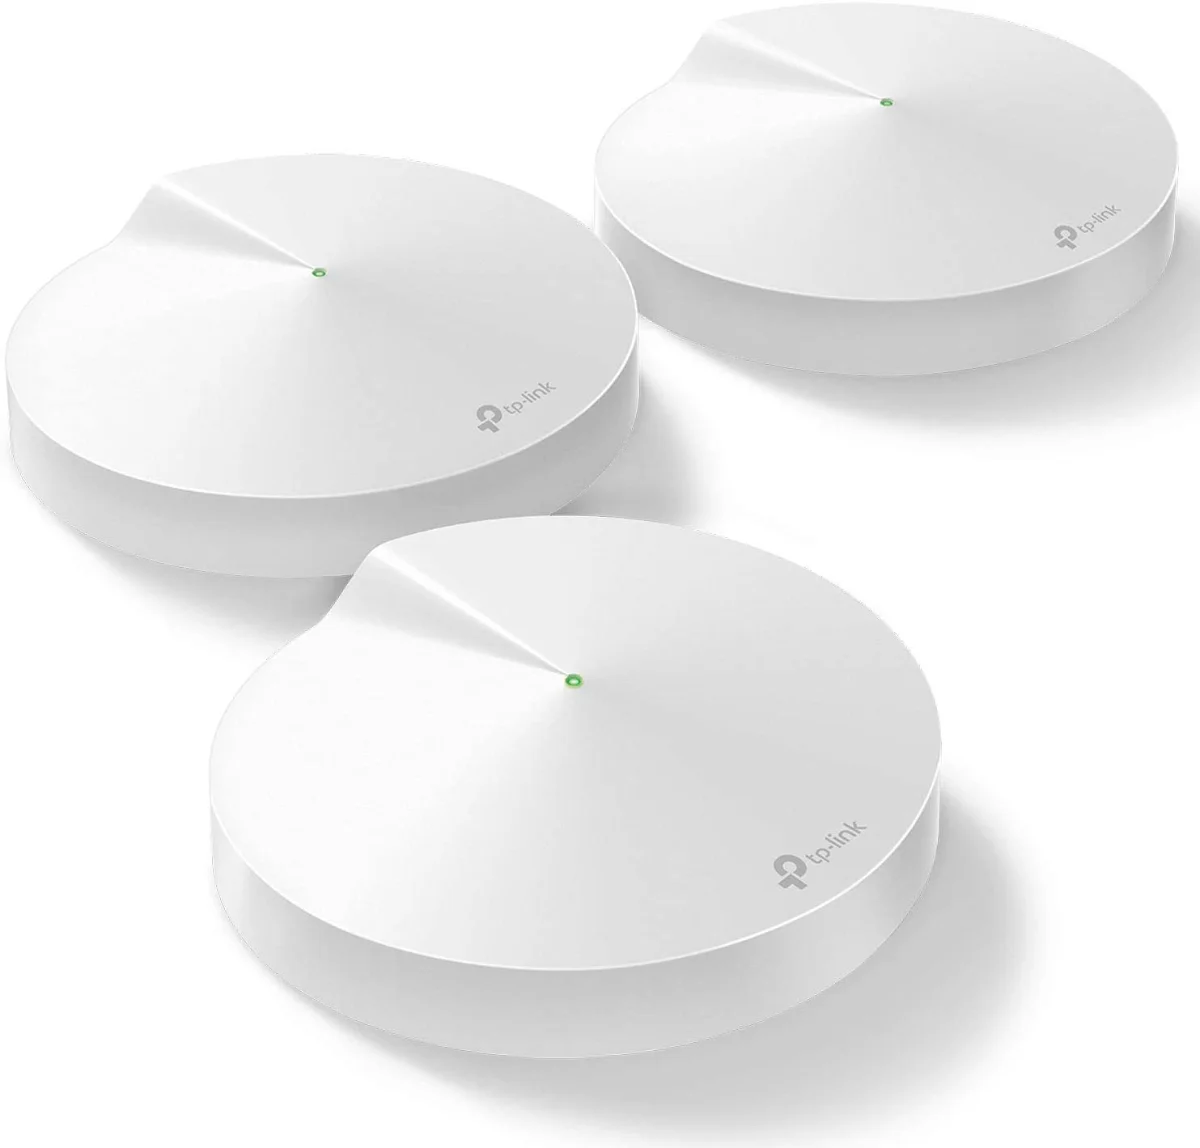
A Wi-Fi mesh takes this to another level by intelligently working with other repeaters to give you the best Wi-Fi signal possible. Usually, the Wifi Mesh package would come in at least 3 repeaters and you can manage them as in a single app.
| Item | Price |
|---|---|
| TP-Link AC750 WiFi Extender (RE220) | $25 |
| TP-Link AX1500 WiFi Extender Internet Booster(RE500X) | $70 |
| Amazon eero 6 Mesh System | $195 |
| Google Wifi - AC1200 Mesh System | $199 |
| TP-Link Deco Mesh WiFi System (Deco S4) | $129 |
Powerline
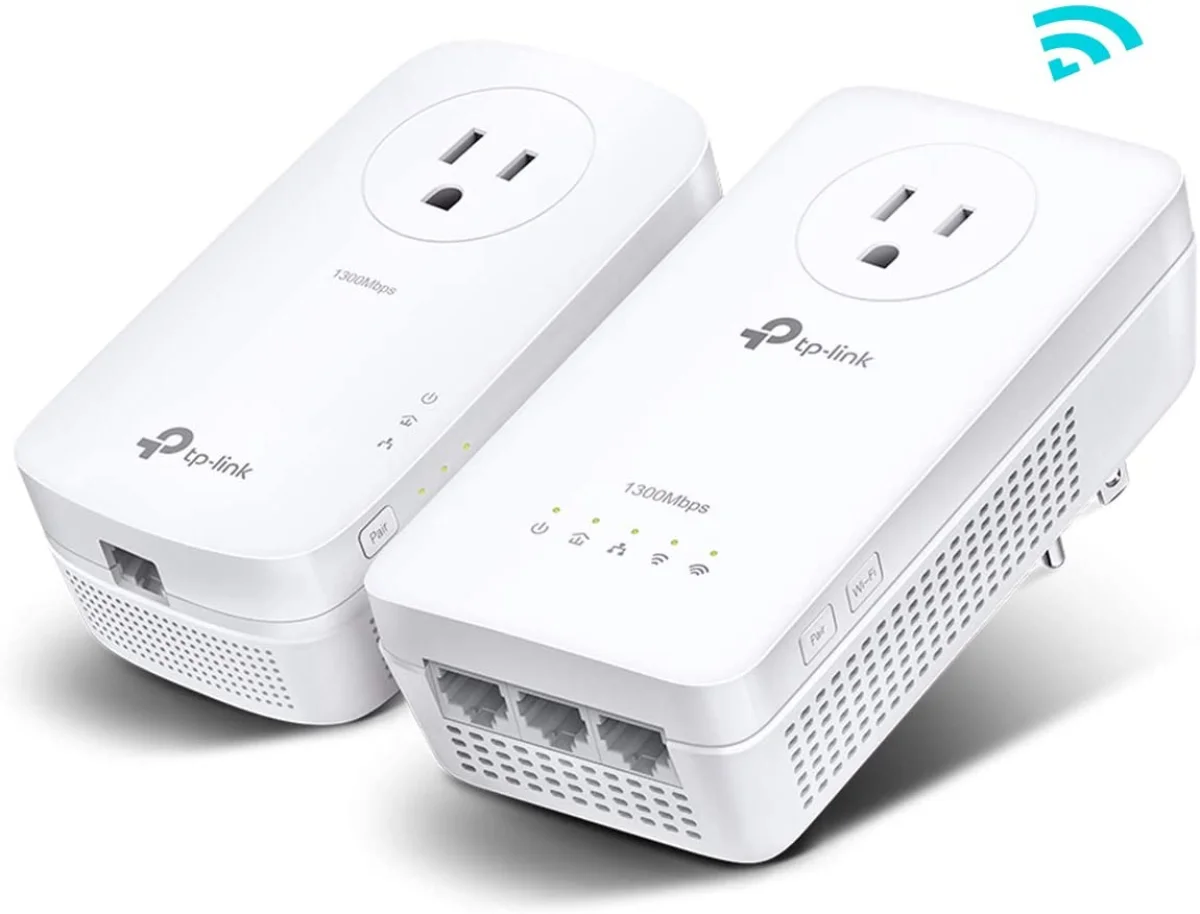
Powerline Ethernet is networking technology that uses the power line in your home to extend your home network. The idea is that you have two or more devices plugged into your home and they send the network signal though the powerlines. The advantages in this system is numerou: you should have a power point in every room and it is easy to setup, you don’t have to run network wires which can be a hassle especially if your home use tough materials like concrete, you don’t have to worry about radio interference because the signal goes through the wire.
Powerline technology has evolved over the years. Early products can do around 100-200 MB/s which is good enough for light usage. But as fiber internet comes to more and more homes which provide up to 1 GB/s speed, the 100 MB/s speed just does not cut it anymore. So Powerline standards have gone up to 1-2 GB/s. Newer models also provide a Wi-Fi repeating function / access point function and also physical ports for wired networking.
The two major problems with Powerline networking. The quality of the network line is dependent on the quality of the power line itself, which in a lot of cases, you have no control over. In larger homes where dual or three phase power is used, the quality can degrade further when the two powerline devices have to switch phases.
The other problem is that the Powerline acts a bit lit Wi-Fi when it comes to distances. Unlike wired ethernet where the speed is guaranteed up to a certain distance, the longer the signal has to run through the wires, the worse the speed it gets. To counter this problem, you have to put powerline devices at each interval which makes the powerline devices act like network repeaters.
A smaller issue is that the network bandwidth is shared between all powerline adapters. Back in the day, when the total bandwidth was around 100-200 MB/s and there were a lot of devices, it was a problem. But now the bandwidth is around 1-2 GB/s, it’s less of a problem. If you plan to transfer a lot of files between your computer and the server (like in a video editing studio), it’s better off to go the dedicated network cable route.
| Item | Price |
|---|---|
| Starter Kits | |
| TP-Link Powerline Ethernet Adapter Starter Kit - AV1000 | $48 |
| NETGEAR Powerline adapter Kit (PLP2000-100PAS) | $109 |
| TP-Link AV1300 Powerline WiFi Extender(TL-WPA8631P KIT) | $119 |
| TP-Link AV1000 Powerline WiFi Extender(TL-WPA7510 KIT) | $90 |
| Additional Units | |
| Tenda AV1000 1-Port Gigabit Powerline Adapter | $35 |
| TP-Link AV2000 Powerline Adapter | $95 |
Dedicated Router with Wi-Fi access points
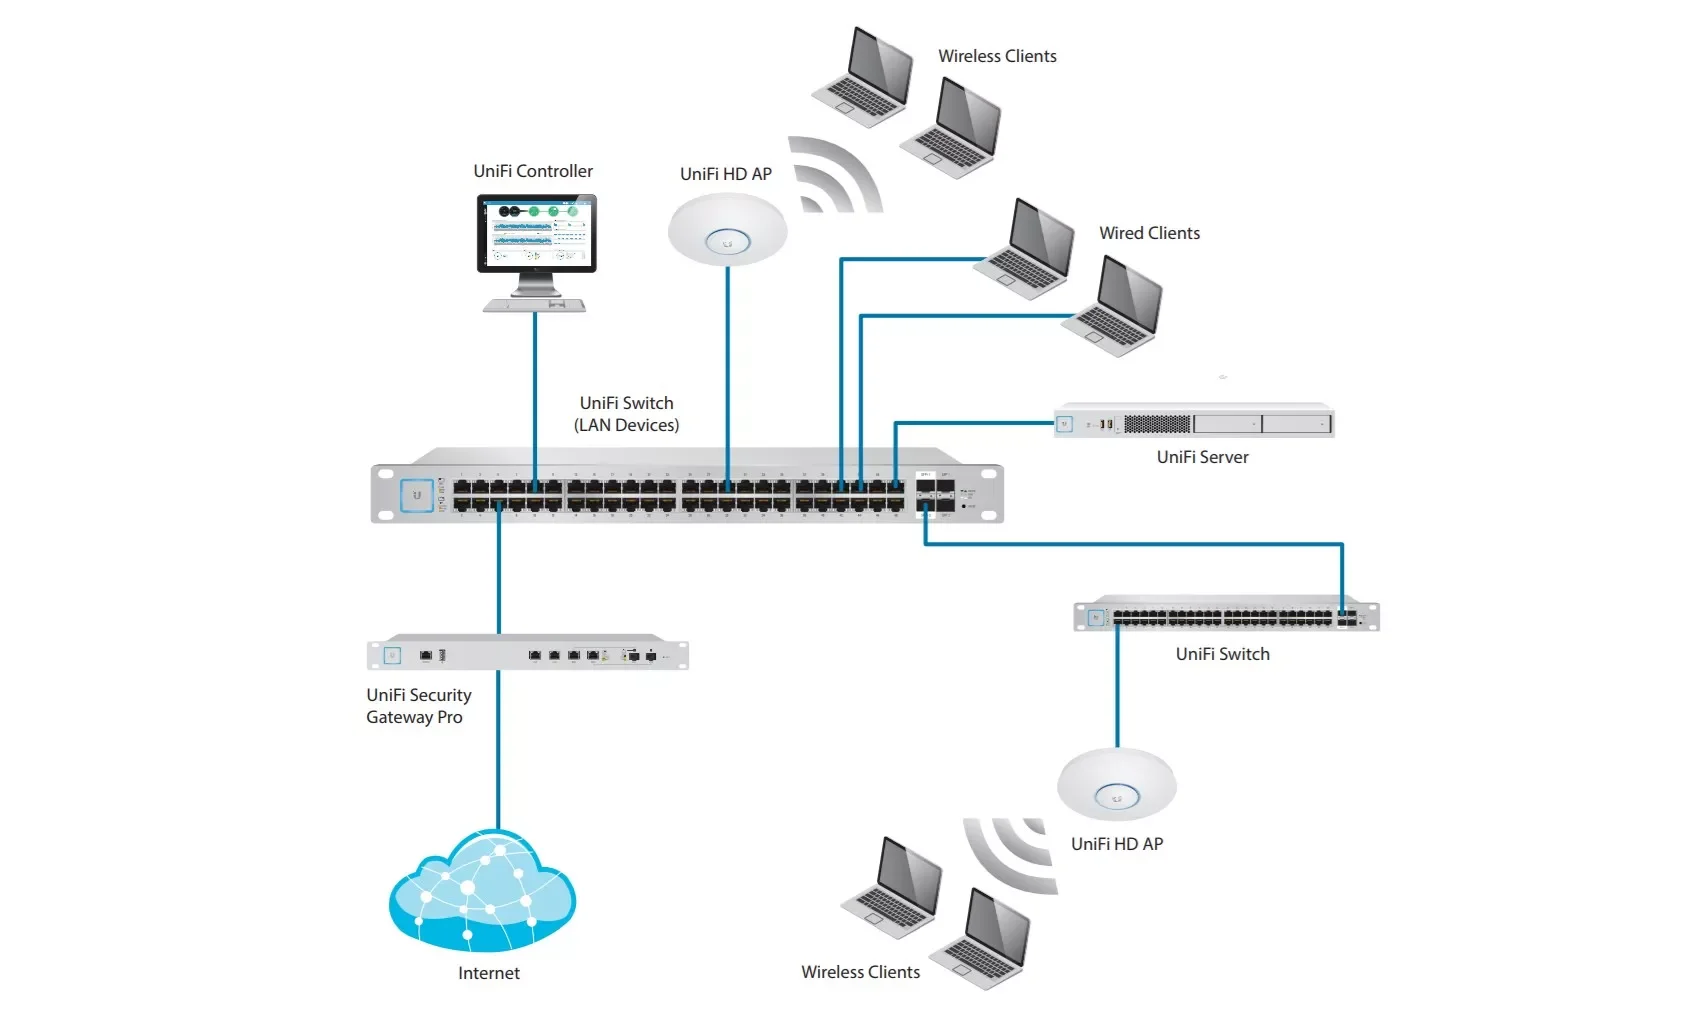
Building a network using a router as a core and access points at the edges provides the best in terms of flexibility, speed and customization. This solution can cost thousands of dollars and hours of work but you can save a bit by buying used switches on eBay.
The basic idea is this: your modem connects you from your home to the internet or ISP’s server. Then that modem connects to the switch. That switch then has wires that go throughout your house. And at the end of the wires you have Wi-Fi access points, ports to plug in computers or servers, telephones, TVs and other devices like your fridge, oven or printer.
The great thing about these switches is that some of them are powered. Using a protocol like Power over Ethernet (PoE), you have a single wire straight from your switch that provides both communication and power. Handy for telephones and cameras. The latest standard can have enough juice to power a laptop although such standard is not widely used.
The major roadblock to using this solution is that you need some technical knowhow and considerable amount of planning to lay out the network. Afterall, if you have concrete walls, the last thing you want to do is hack a wall then find out that you don’t need to do that. Costing can be considerable since you will have to buy a lot more items to make things work, but it also gives you the most flexibility and performance as the dedicated network cable provides a guaranteed quality of service.
As for laying the cables, you have two choices: buy a pre-cut factory terminated cable or to save cost, buy the cables, terminators, jacks and cable boot and do everything yourself. The learning curve is not that steep and you need around $100 to get the proper tools. Once the cables are laid out and connected, you need to manually configure the network. In the olden days, you need something like a CCNA certificate because it is very manual, but nowadays, everything is far easier and automated.
| Item | Price |
|---|---|
| Switches | |
| TP-Link TL-SG108 | 8 Port Gigabit Unmanaged Ethernet Network Switch | $20 |
| NETGEAR 8-Port Gigabit Ethernet Unmanaged Switch (GS308) | $22 |
| TP-Link 16 Port Gigabit Ethernet Network Switch (TL-SG116) | $67 |
| NETGEAR 26-Port PoE Gigabit Ethernet Smart Switch (GS724TP) - Managed | $340 |
| Ubiquiti Networks UniFi USW-16-POE | $409 |
| Ubiquiti USW-PRO-24-POE | $709 |
| WiFi access points | |
| Ubiquiti Networks UniFi UAP-AC-PRO | $148.75 |
| NETGEAR Wireless Desktop Access Point (WAC104) | $40 |
| TP-Link EAP225 V3 | $60 |
| Ethernet Cables, connectors and wall plates | |
| Mediabridge Ethernet Cable (25 Feet) | $13 |
| Cat6 Ethernet Cable, 6 ft (2 pack) | $10 |
| Dripstone 600004 Cat6 Utp Solid Cable 1000ft | $87 |
| Southwire 56918945 Category 6 Blue Cable 23AWG, CMR, 4 Pairs, 500 Feet | $94 |
| Cat6 RJ45 Ends, CableCreation 100-PACK | $14 |
| Cable Matters 100-Pack CAT6 RJ45 Modular Plugs | $15 |
| Cable Matters 10-Pack Low Profile 2-Port Keystone | $12 |
| Cable Matters UL Listed 25-Pack RJ45 Keystone Jack | $32 |
| Tools | |
| Solsop RJ45 Crimp Tool | $26 |
| Klein Tools VDV226-110 Ratcheting Modular Cable Crimper | $45 |
| Klein Tools VDV526-200 Cable Tester | $55 |
Step 3: Buying the stuff and installation
Now you have planned out how your future network is going to be, this would be the easiest and most expensive step: buying out the necessary equipment and installing them around your house.
Optional: Extending your network
After you have expanded and/or upgraded your network, you can take these additional extra steps to further augment your network.
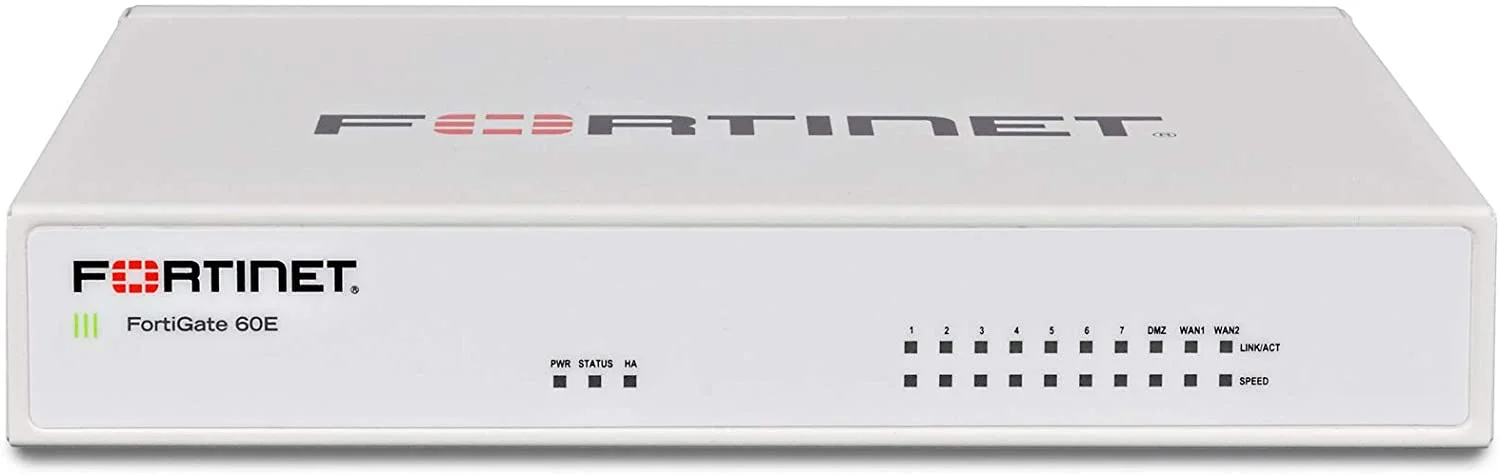
Firewall A firewall is a network device that is designed to keep unwanted traffic out and allow wanted traffic in. While most routers have built-in firewall rules that do this, a dedicated device will offload the traffic from your internal router.
| Item | Price |
|---|---|
| FORTINET FortiGate-60F | $1,415 |
| WatchGuard Firebox T15 Network Security Firewall | $272 |
| Protectli Vault FW4B | $359 |

VPN Virtual Private Network is a network device that allows you to connect your internal network from the internet. There’s several ways to do this, from having a dedicated home server to connect using third party software like teamviewer or a dedicated VPN server that you log on that directly connects to your network.
| Item | Price |
|---|---|
| TP-Link ER605 | $60 |
| TP-Link ER7206 | $150 |
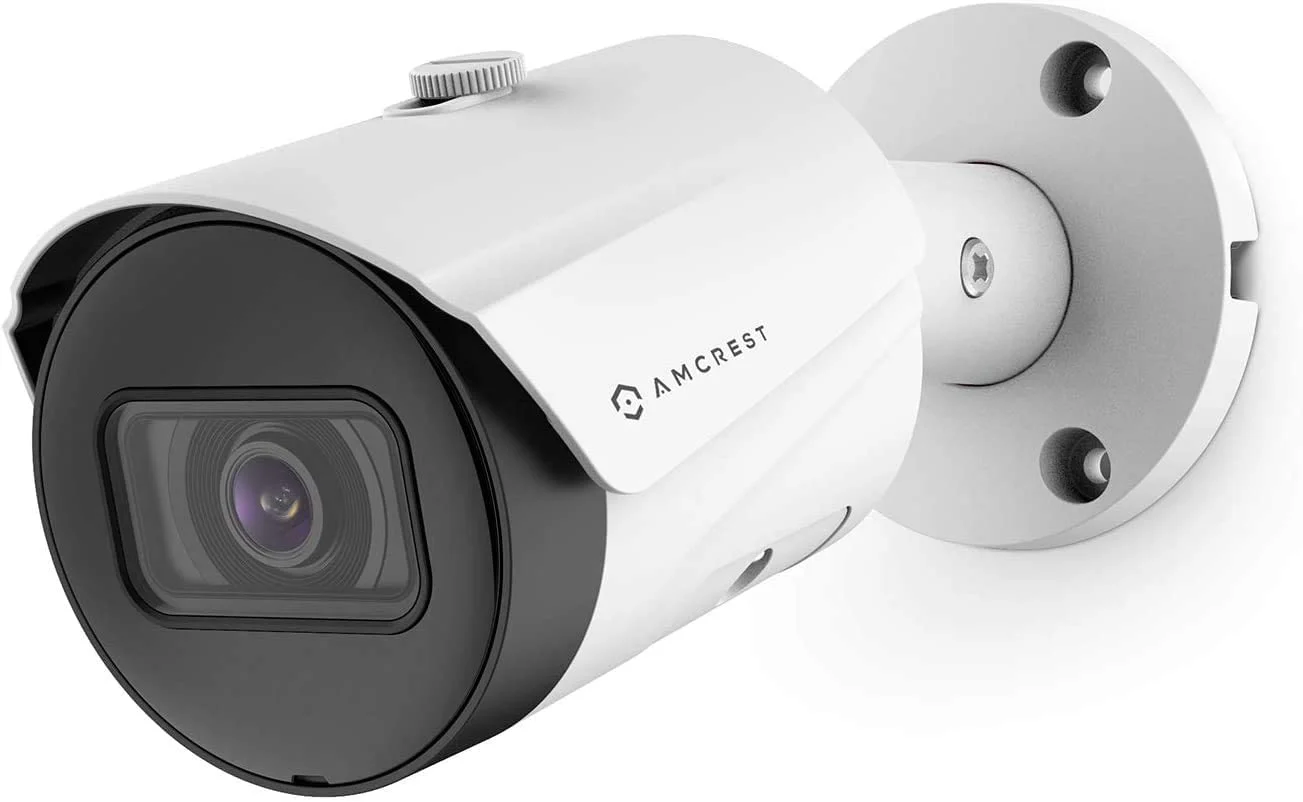
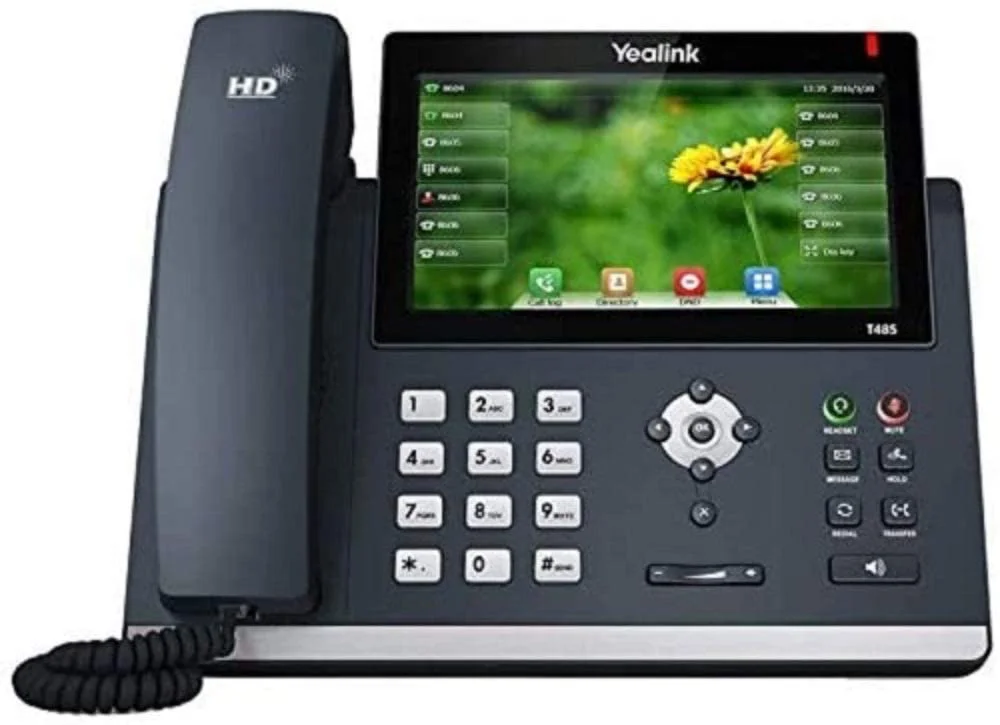
Cameras and Phones You can add network attached cameras around your property for security and surveillance. Some solutions have a server which stores the video feed on site or through the cloud. Network attached phones allow the convenience of having a dedicated landline for business purposes.
| Item | Price |
|---|---|
| Amcrest 5MP UltraHD Outdoor Security (IP5M-T1179EW-28MM) | $58 |
| Amcrest UltraHD 5MP Outdoor (IP5M-B1186EW-28MM) | $58 |
| Ring Spotlight Cam | $200 |
| Reolink E1 Pro | $50 |
| Yealink T54W IP Phone | $190 |
| Polycom VVX | $74 |
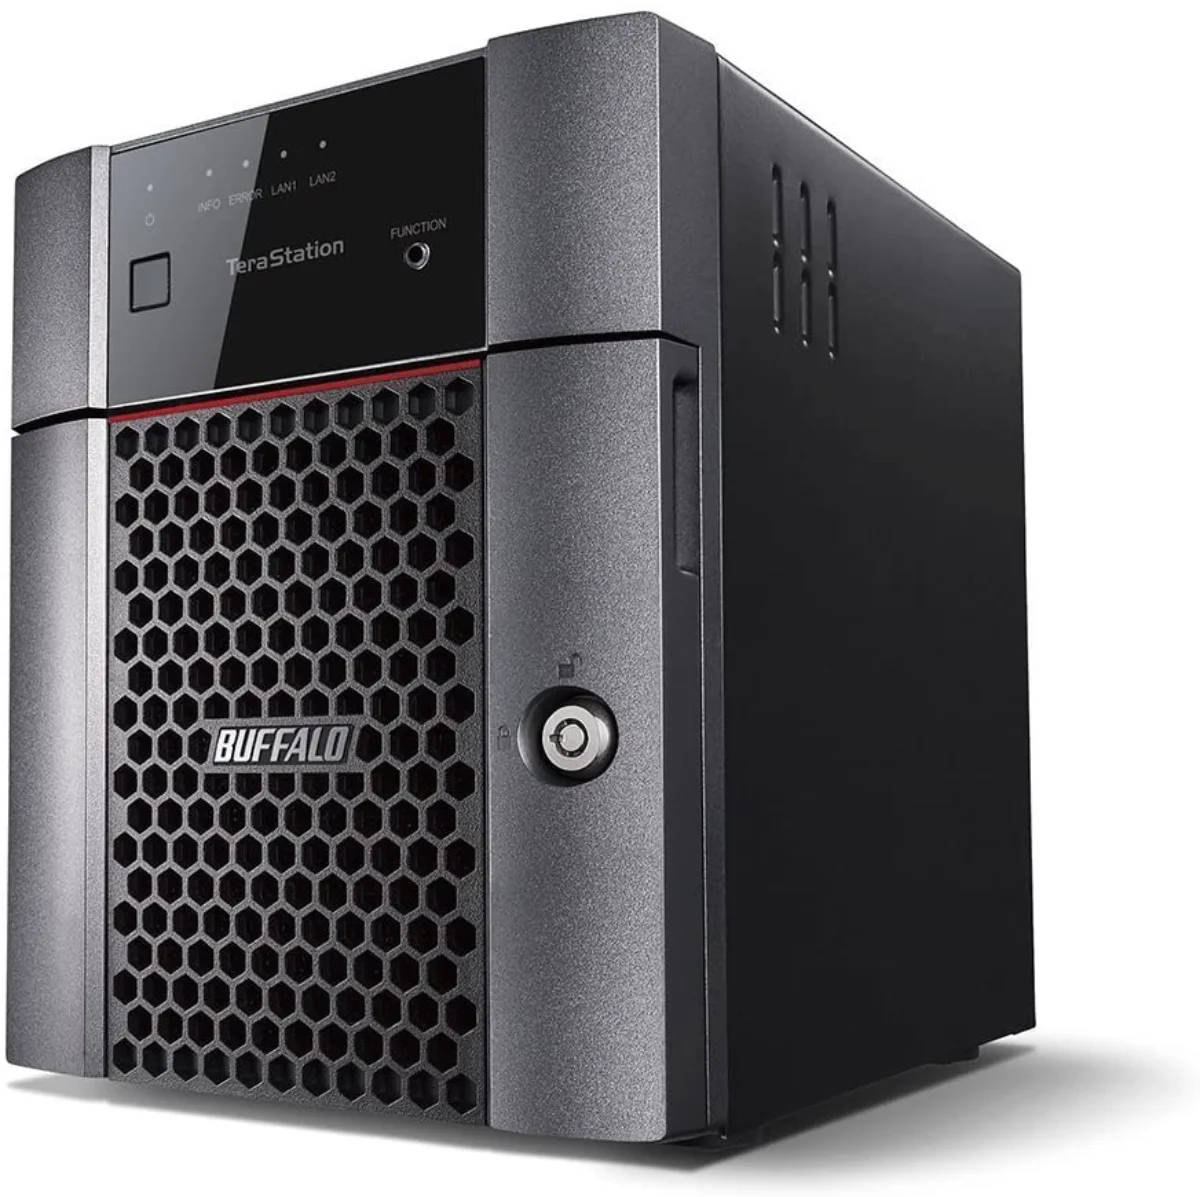
Home Server A home server can be useful if you want to have a centralized place to store your personal files (like your own videos) and don’t want to rely on a cloud storage solution. Combined with a VPN service, you basically have your own personal cloud solution
| Item | Price |
|---|---|
| HP ProLiant DL360p Gen8 1U RackMount (Renewed) | $250 |
| TERRAMASTER F2-210 | $160 |
| QNAP TS-453D-8G | $625 |
| BUFFALO TeraStation 3220DN | $599 |
Conclusion
So there you have it, a guide to upgrading your home network from simply upgrading your central router to all out expansion with switches, cameras and phones. Good luck with your installation and do let us know about your experiences.
Plug
Support this free website by visiting my Amazon affiliate links. Any purchase you make will give me a cut without any extra cost to you
- iPhone 13 Mini - Amazon USA / Amazon UK
- iPhone 13 - Amazon USA / Amazon UK
- iPhone 13 Pro - Amazon USA / Amazon UK
- iPhone 13 Pro Max - Amazon USA / Amazon UK
- iPhone SE - Amazon USA / Amazon UK
- iPad Mini - Amazon USA / Amazon UK
- iPad - Amazon USA / Amazon UK
- iPad Air - Amazon USA / Amazon UK
- iPad Pro - Amazon USA / Amazon UK
- Accessories:-
- AirPods - Amazon USA / Amazon UK
- AirPods Pro - Amazon USA / Amazon UK
- AirPods Max - Amazon USA / Amazon UK
- MagSafe Cable - Amazon USA / Amazon UK
- 20W Charger - Amazon USA / Amazon UK
- MagSafe Case - Amazon USA / Amazon UK